 Save to Pinterest
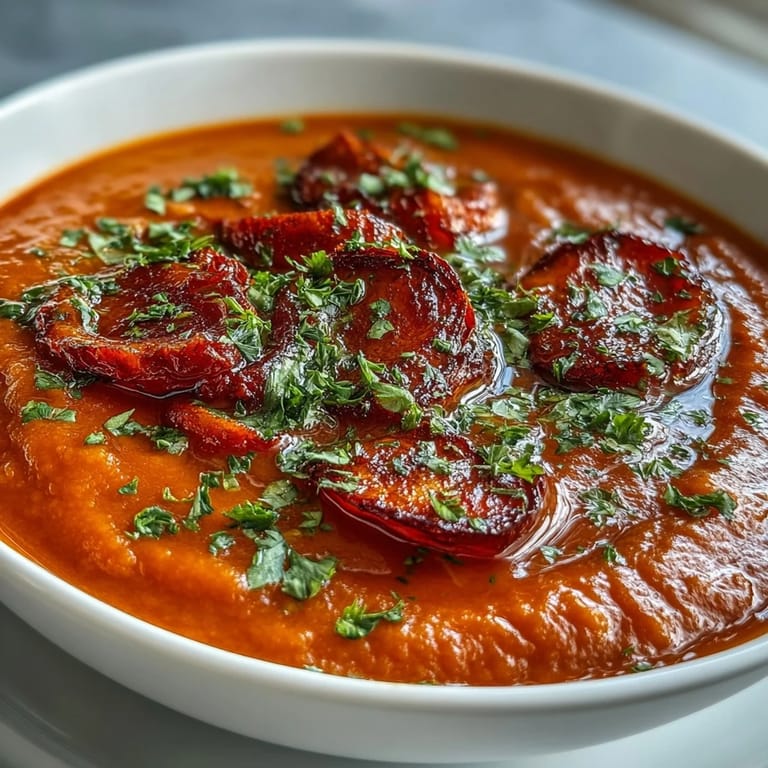
 The chilly autumn afternoon I first made roasted vegetable soup changed my relationship with my kitchen forever. Standing at the counter, chopping vibrant vegetables while rain tapped against the window, I found myself wondering why I'd never tried roasting them before blending. The aroma that filled my apartment as those vegetables caramelized in the oven was nothing short of transformative—sweet, earthy, and impossibly rich. That first spoonful, velvety and complex, made me realize how simple ingredients can create something magical.
Last winter during that unexpected snowstorm, I found myself with houseguests who couldn't leave and not much in the pantry. This soup saved dinner—I scrounged up some aging vegetables from the crisper drawer, roasted them to bring out their remaining goodness, and served the resulting soup with the last heel of bread, crisped into impromptu croutons. My friends still talk about that emergency meal, convinced I'd planned it all along, never suspecting it was cobbled together from vegetables on their last legs.
Ingredients
- Root vegetables: Carrots and sweet potatoes form the hearty base, contributing natural sweetness and a velvety texture when blended.
- Red bell pepper: It adds a subtle sweetness and beautiful color that transforms the soup from earthy-brown to a vibrant orange-red.
- Zucchini: This mild squash brings a lightness to balance the density of root vegetables while adding nutritional value.
- Red onion and garlic: When roasted, they mellow dramatically, losing their sharp bite and developing a gentle sweetness that infuses the entire soup.
- Smoked paprika: Just a half teaspoon adds surprising depth—I discovered this by accident when I ran out of regular paprika and it's become non-negotiable ever since.
Tired of Takeout? 🥡
Get 10 meals you can make faster than delivery arrives. Seriously.
One email. No spam. Unsubscribe anytime.
Instructions
- Prepare your vegetables:
- Chop everything into roughly equal-sized pieces to ensure even roasting. Dont worry about perfection here—rustic cuts have character.
- Season generously:
- Toss those vegetables in olive oil until every piece has a light coating, then sprinkle with herbs, smoked paprika, salt and pepper. Your hands are the best tools for this job.
- Arrange thoughtfully:
- Spread everything in a single layer on your baking sheet, giving the vegetables breathing room. Crowding leads to steaming instead of roasting, and we want those delicious caramelized edges.
- Listen for the sizzle:
- After about 15 minutes, you should hear a gentle sizzling from the oven—thats the sound of magic happening. Flip everything for even browning.
- Simmer strategically:
- Once vegetables transfer to the pot with broth, resist the urge to rush this step. Those 10 minutes of simmering allow the roasted flavors to infuse the liquid completely.
- Blend carefully:
- If using a countertop blender, fill it only halfway and place a kitchen towel over the lid before blending hot soup. Steam pressure is no joke.
 Save to Pinterest
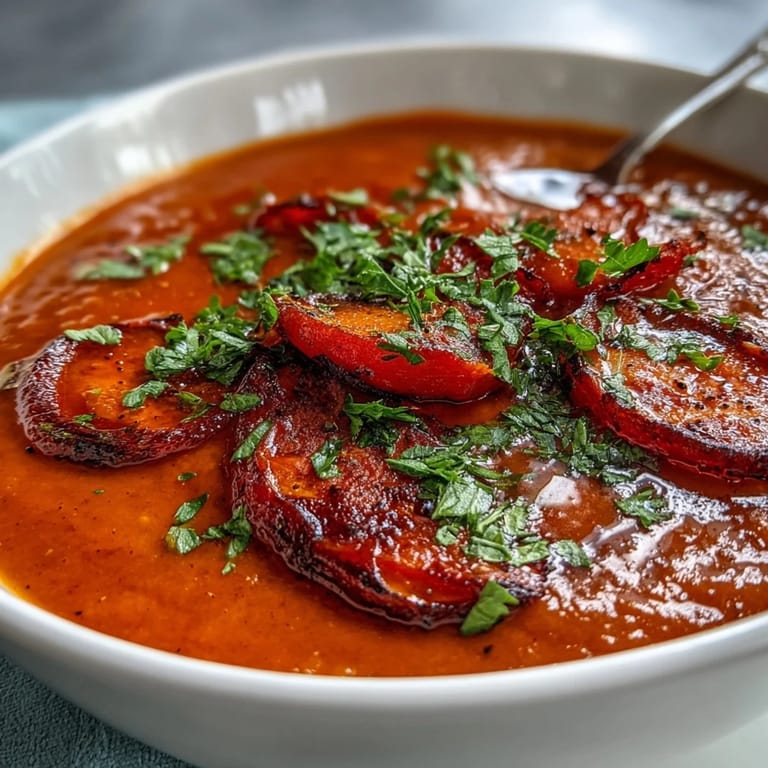
 The first time I served this soup at a dinner party, my friend Elise—who normally picks at her food—asked for seconds, then quietly requested the recipe before leaving. Months later at her house, I noticed my soup had made it into her regular rotation, but with her own twist: toasted pumpkin seeds sprinkled on top. Now I borrow her garnish idea whenever I make it, a little culinary conversation between friends that continues with each batch.
Seasonal Adaptations
Throughout the year, I adjust this soup to whatever the farmers market offers. Spring brings tender young carrots and early zucchini. Summer allows for corn kernels cut straight from the cob and sun-ripened tomatoes. Fall welcomes butternut squash and parsnips. And winter? Those humble storage vegetables—celeriac, turnips, and hearty cabbage—transform beautifully under high heat, proving that even the humblest ingredients have greatness within them.
Creating Texture Contrast
While the silky smoothness of this soup is part of its charm, I find adding something crunchy on top creates a more satisfying eating experience. My go-to options change with my mood—sometimes its homemade croutons made from stale bread cubes tossed with olive oil and herbs, other times its a sprinkle of toasted pumpkin or sunflower seeds. When Im feeling especially indulgent, I fry thin slices of garlic until crisp and golden, then crumble them over each bowl alongside a few flakes of sea salt.
Making It a Complete Meal
Though perfect as a starter, this soup easily becomes a complete meal with thoughtful additions. The key is balancing nutrition and satisfaction without overshadowing the soups delicate flavor profile.
- For protein, try adding a can of rinsed white beans before blending, or topping each bowl with a poached egg that adds richness when the yolk breaks into the soup.
- A small scoop of cooked quinoa or farro added after blending provides satisfying chew and makes the soup more substantial without much effort.
- Dont underestimate good bread on the side—a crusty whole grain loaf transforms this soup into a meal that feels both nourishing and complete.
 Save to Pinterest
 This soup reminds me that cooking isnt always about complex techniques or exotic ingredients, but rather about coaxing the best from what we have. Each batch tells the story of the season, the garden, or simply what needed using up that day.
Recipe FAQs
- → Can I use different vegetables?
Absolutely. Swap in parsnips, squash, leeks, or any seasonal vegetables you have on hand. The roasting method works beautifully with most root vegetables and hardy greens.
- → How do I make it creamier?
Stir in a splash of coconut milk or heavy cream before blending. This adds richness without overpowering the roasted vegetable flavors.
- → Can I make this ahead?
Yes. This stores well refrigerated for up to 3 days. The flavors actually develop more depth overnight. Reheat gently over medium-low heat.
- → What's the best way to blend?
An immersion blender works perfectly directly in the pot. For ultra-smooth results, use a countertop blender in batches, being careful with hot liquid.
- → Is this suitable for freezing?
This freezes beautifully for up to 3 months. Cool completely before transferring to freezer-safe containers. Thaw overnight in the refrigerator.