 Save to Pinterest
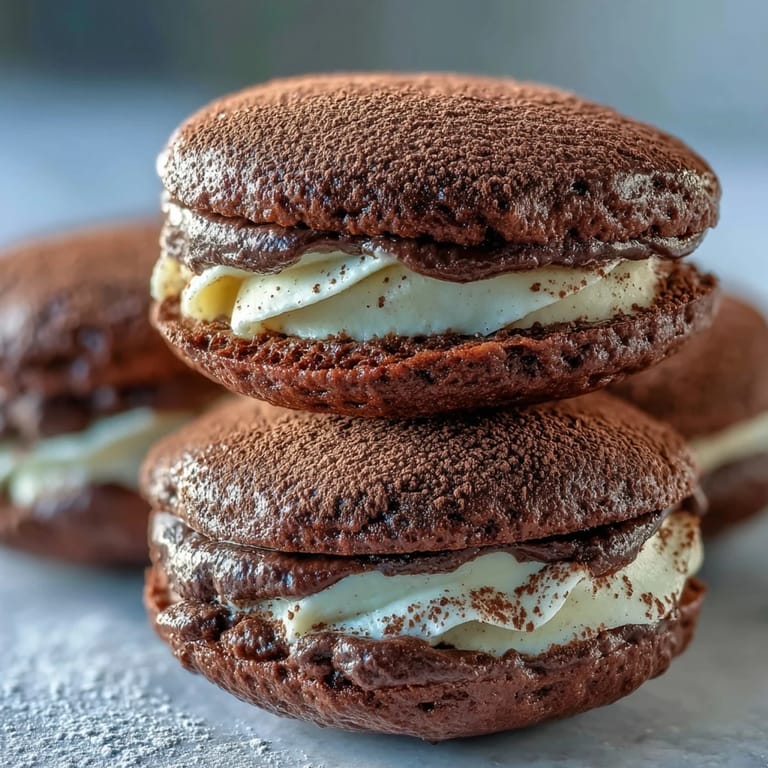
 My kitchen smelled like a chocolate cloud the afternoon I decided to merge two of my favorite indulgences into one bite. I had just come back from an Italian bakery where I'd ordered a slice of tiramisu, and on the counter sat a half-empty box of whoopie pies from a road trip. Something clicked. Why not borrow the deep coffee and cocoa magic of tiramisu and tuck it inside soft, pillowy chocolate cakes? The experiment turned into a batch I couldn't stop eating.
I brought a tray of these to a friend's birthday dinner, and they vanished before dessert was officially announced. Someone asked if I'd opened a secret bakery, and another person scraped cocoa dust off the plate with her finger. The best part was watching coffee lovers light up at the first taste, recognizing the tiramisu notes immediately. It felt like sharing a little edible inside joke.
Ingredients
- All purpose flour: The base that gives these cakes their tender, cakey crumb without turning dense or crumbly.
- Unsweetened cocoa powder: Go for a good quality Dutch process if you can, it deepens the chocolate flavor and balances the coffee beautifully.
- Baking powder and baking soda: This duo creates the signature domed, soft texture that makes whoopie pies so addictive.
- Unsalted butter: Softened to room temperature so it creams smoothly with the sugar and builds a rich, moist crumb.
- Granulated sugar: Sweetens the cakes and helps them stay soft for days when stored properly.
- Egg: Binds everything together and adds structure, one large egg is all you need.
- Vanilla extract: A little warmth that plays well with both the cocoa and the coffee to come.
- Whole milk: Keeps the batter smooth and pourable, lower fat milk works but whole gives the best texture.
- Mascarpone cheese: The creamy Italian cheese that makes this filling taste unmistakably like tiramisu, keep it cold until you're ready to whip.
- Heavy cream: Whipped into the mascarpone to give it that cloud like, pipeable consistency.
- Powdered sugar: Sweetens and stabilizes the filling without graininess, sift it to avoid lumps.
- Instant espresso powder: The soul of the filling, it delivers that deep coffee punch without adding extra liquid.
- Hot water: Just enough to dissolve the espresso powder so it blends smoothly into the cream.
- Cocoa powder for dusting: The final touch that makes these look bakery perfect and adds a bittersweet finish.
Tired of Takeout? 🥡
Get 10 meals you can make faster than delivery arrives. Seriously.
One email. No spam. Unsubscribe anytime.
Instructions
- Prep your oven and pans:
- Preheat to 350°F and line two baking sheets with parchment paper so the cakes release easily. This also prevents any sticking or uneven browning on the bottoms.
- Mix the dry ingredients:
- Whisk together flour, cocoa powder, baking powder, baking soda, and salt in a medium bowl until evenly combined. This ensures every cake gets the same rise and chocolate flavor.
- Cream butter and sugar:
- Beat softened butter and granulated sugar in a large bowl until the mixture turns pale and fluffy, about 3 minutes. Then beat in the egg and vanilla until smooth.
- Combine wet and dry:
- Add the dry ingredients to the butter mixture in three parts, alternating with the milk, starting and ending with dry. Mix gently until just combined, overmixing makes the cakes tough.
- Scoop and bake:
- Drop 24 evenly sized mounds of batter onto your prepared sheets, leaving about 2 inches between each. Bake for 10 to 12 minutes until the tops spring back lightly when touched, then cool on the pans for 5 minutes before moving to a wire rack.
- Make the coffee mascarpone filling:
- Dissolve instant espresso powder in hot water and let it cool completely. Beat chilled mascarpone, cold heavy cream, and powdered sugar until smooth and thick, then fold in the cooled espresso and vanilla.
- Assemble the whoopie pies:
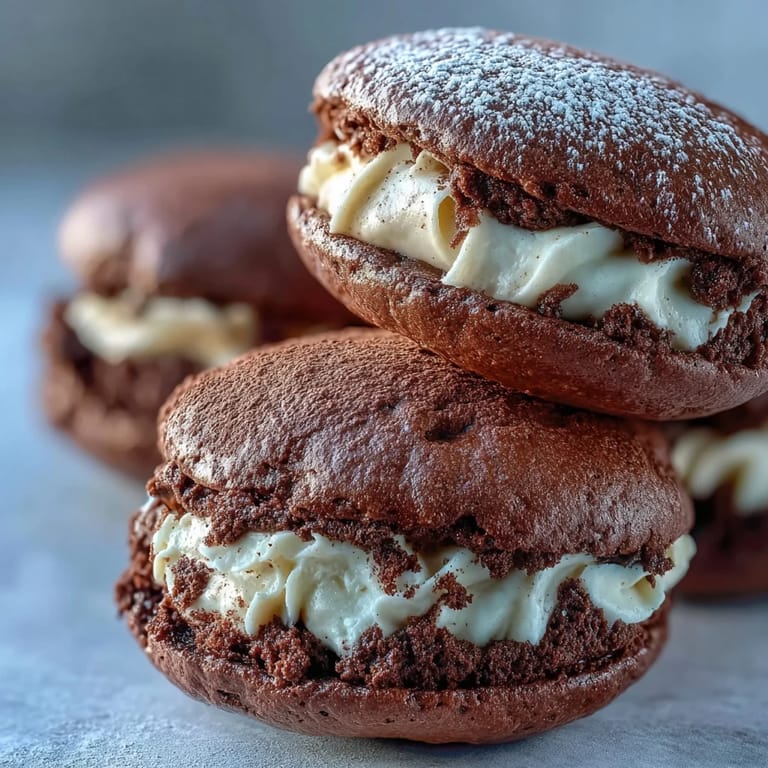
- Spread or pipe a generous dollop of filling onto the flat side of half the cooled cookies. Press the remaining cookies gently on top to form sandwiches, then dust with cocoa powder and refrigerate for 30 minutes before serving.
 Save to Pinterest
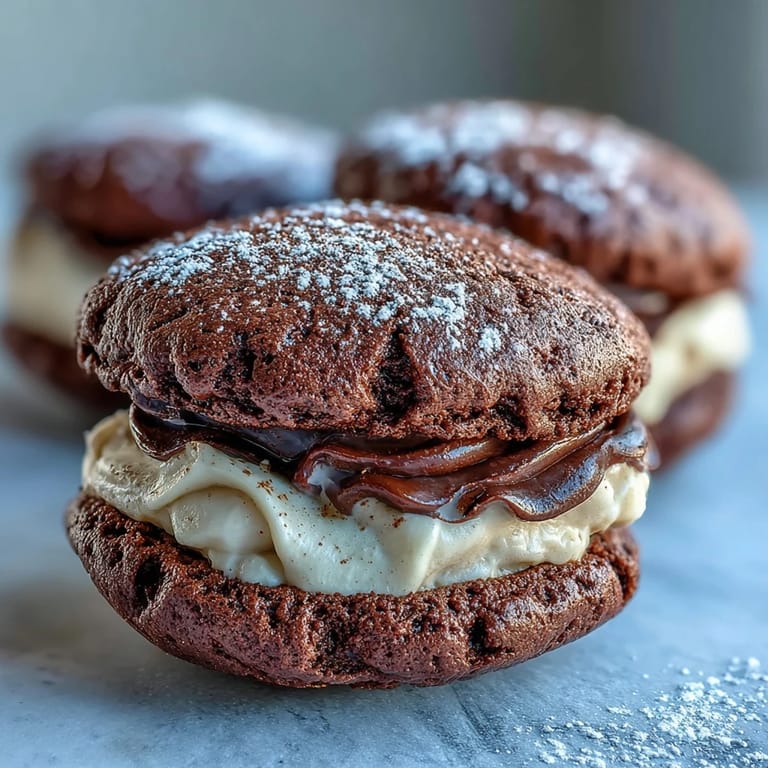
 One evening I packed a few of these into a small box and left them on my neighbor's porch with a note that just said for your coffee break. She texted me an hour later saying she'd eaten two in one sitting and demanded the recipe. It reminded me that sometimes the best recipes are the ones that make people feel like they've been given a little luxury, even on an ordinary Wednesday.
Storing and Make Ahead Tips
These whoopie pies keep beautifully in an airtight container in the fridge for up to two days, and honestly they taste even better the next day once the flavors have mingled. You can bake the chocolate cakes a day ahead and store them at room temperature, then whip up the filling and assemble them a few hours before serving. If you want to freeze them, wrap each assembled pie individually in plastic wrap and freeze for up to a month, then thaw in the fridge overnight. Just dust with fresh cocoa powder before serving because the original dusting may absorb into the cake.
Flavor Variations to Try
For a boozy grown up version, stir a tablespoon of coffee liqueur or dark rum into the mascarpone filling, it deepens the tiramisu vibe. If you're not a coffee fanatic, you can swap the espresso powder for a tablespoon of cocoa powder mixed with a teaspoon of vanilla for a double chocolate experience. I've also folded mini chocolate chips into the filling for extra texture, and it was a hit with kids who found the coffee flavor a little strong. You can even brush the flat side of each cookie with a tiny bit of espresso before adding the filling, just like soaking ladyfingers in traditional tiramisu.
Serving Suggestions
These are perfect alongside a hot cappuccino or iced latte, the flavors echo each other in the best way. I've served them on a platter dusted with extra cocoa and a few fresh raspberries scattered around for color, it makes them look like they came from a fancy patisserie. They're also wonderful packed into a gift box for a friend who loves coffee or needs a pick me up.
- Pair with a strong espresso or a creamy latte for the ultimate coffee dessert moment.
- Serve them chilled for the best texture and flavor contrast between the soft cake and cool filling.
- Garnish the platter with fresh berries or a light dusting of powdered sugar for an elegant presentation.
 Save to Pinterest
 Every time I pull a batch of these from the fridge, I'm reminded that some of the best desserts come from a little creative curiosity and a willingness to combine things you love. I hope these tiramisu whoopie pies become a favorite in your kitchen too.
Recipe FAQs
- → Can I make these whoopie pies ahead of time?
Yes, you can prepare these up to 2 days in advance. Store them in an airtight container in the refrigerator to maintain freshness and the proper texture of the mascarpone filling.
- → What can I substitute for mascarpone cheese?
Cream cheese can be used as a substitute, though it will create a slightly tangier flavor profile compared to the mild, creamy sweetness of authentic mascarpone. Ensure it's well-chilled before using.
- → How do I prevent the filling from being too runny?
Make sure your mascarpone and heavy cream are very cold before whipping. Avoid overbeating the mixture, and if the filling seems soft, refrigerate it for 20 minutes before assembling the whoopie pies.
- → Can I add alcohol to enhance the tiramisu flavor?
Absolutely! Adding 1 tablespoon of coffee liqueur such as Kahlúa or Marsala wine to the filling will intensify the authentic tiramisu taste. Adjust to your preference and occasion.
- → Why are my chocolate cookies spreading too much during baking?
Ensure your butter is softened but not melted, and that you're not overmixing the batter. Also, make sure your baking powder and baking soda are fresh, and allow proper spacing of 2 inches between each cookie mound.
- → Do these need to be refrigerated before serving?
Yes, refrigerating for 30 minutes after assembly helps the filling set properly and allows the flavors to meld together. The mascarpone filling requires cold storage to maintain its structure.