 Save to Pinterest
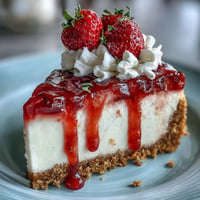
 There's something magical about a dessert that doesn't require an oven, especially when it tastes indulgent but actually fuels your body. These protein cheesecake cups came into my life during a summer when I was trying to balance wanting treats with needing actual nutrition. I remember standing in my kitchen on a hot afternoon, frustrated that every protein dessert I'd tried felt like eating chalk, and I wondered if I could just combine the things I loved—creamy cheesecake, a sturdy crust, real food—into something that actually tasted like dessert.
I made these for the first time for a friend who'd just started training for a half marathon, and she ate two in a row while telling me they didn't taste like "diet food" at all. That moment—her genuine surprise mixed with satisfaction—made me realize I'd actually cracked the code on something that could work for real life, not just Instagram.
Ingredients
- Oat flour: The base needs substance and a slight nuttiness that holds everything together without heaviness—if you can't find oat flour, pulse rolled oats a few times in a blender.
- Almond or peanut butter: This is what makes the crust actually taste good and helps it bind; skip the natural stuff if you want it to press together easily.
- Honey or maple syrup: Just enough sweetness to complement the filling without making the base cloyingly sugary.
- Cream cheese: Use the reduced-fat version and let it soften fully at room temperature, or you'll have lumpy filling instead of creamy.
- Greek yogurt: This does two jobs—adds protein and keeps the filling light and tangy instead of dense.
- Vanilla whey protein powder: Two scoops gives you that protein boost without overpowering the flavor; vanilla plays well with everything else.
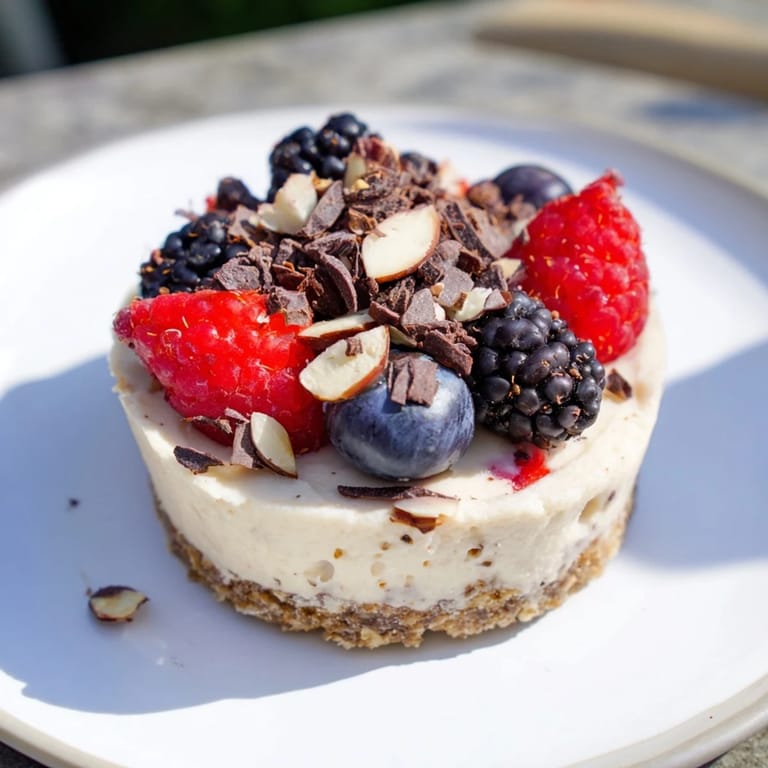
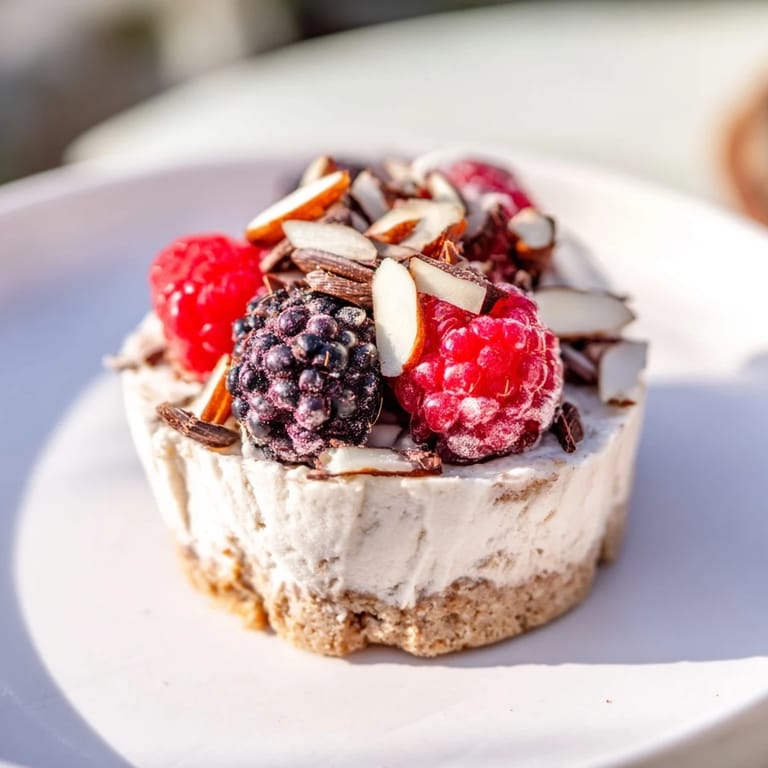
- Fresh berries: A handful scattered on top adds brightness and cuts through the richness of the cheesecake.
Tired of Takeout? 🥡
Get 10 meals you can make faster than delivery arrives. Seriously.
One email. No spam. Unsubscribe anytime.
Instructions
- Build Your Base:
- Mix the oat flour, nut butter, honey, and salt in a bowl until it feels like wet sand—you want it to stick together when you squeeze it but still have texture. The mixture should feel slightly oily from the butter, which is exactly what helps it press down and hold firm.
- Press and Prepare:
- Divide the mixture among muffin liners, pressing down with your fingers or the back of a spoon until you have an even layer. Don't be shy about the pressure here; you want a sturdy foundation that won't crumble when you bite into it.
- Make the Filling Smooth:
- Beat the softened cream cheese by itself first until it's completely smooth with no lumps, then fold in the yogurt, protein powder, honey, vanilla, and lemon zest. Mix just until combined—overmixing can make it slightly grainy rather than creamy.
- Assemble and Chill:
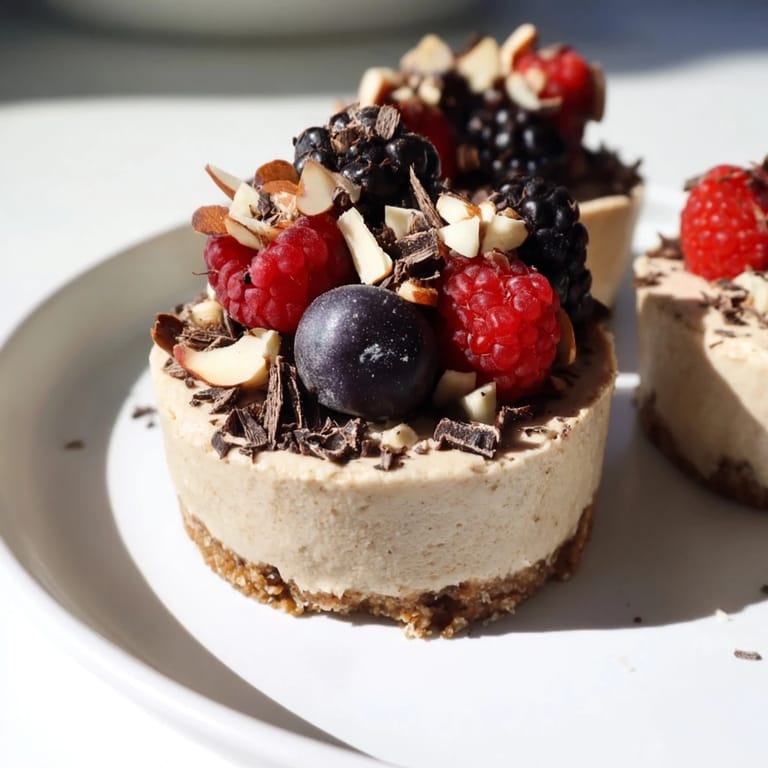
- Spoon the filling evenly over each prepared base, smooth the tops with a spatula, add any toppings you like, then slide the whole tin into the fridge for at least two hours. The cold is what sets the texture, so don't skip this step or rush it.
 Save to Pinterest
 I served these at a work gathering once, unlabeled, and watched people reach for seconds without realizing they were eating something with serious protein content. One coworker asked if I'd bought them from a bakery, which felt like the highest compliment possible.
Why This Works as a Protein Dessert
Most protein desserts fail because they taste like punishment for wanting something sweet, but this one succeeds because it starts with actual cheesecake logic. The Greek yogurt keeps things light instead of dense, the protein powder vanishes into the background instead of announcing itself loudly, and the base gives you something to bite through instead of just spoon-able filling. It's the difference between eating a fitness product and eating something you genuinely want to eat.
Storage and Make-Ahead Ideas
These live beautifully in the fridge for up to four days once they're set, and I've found they're actually better on day two when the flavors have had time to meld and settle. You can prepare them up to step four the night before if you're planning a specific morning; just add toppings shortly before eating so berries stay fresh and nuts stay crispy. They don't freeze well—the texture becomes grainy instead of creamy—so plan to eat them within that four-day window.
Variations and Customizations
The beauty of these cups is how flexible they are once you understand the base formula. You can swap the vanilla protein for chocolate, add a tablespoon of cocoa powder to the filling, and top with dark chocolate shavings for a completely different experience. I've made a strawberry version by stirring freeze-dried strawberry powder into the filling, and a version with matcha powder for a friend who loves green tea. The base stays the same, so once you nail it once, you can play with the flavors forever.
- For a vegan version, use coconut or almond-based cream cheese, coconut yogurt, and pea or rice protein powder.
- Try swapping the almond butter for tahini for an earthy, sesame-forward base that pairs beautifully with berries.
- Mix a tablespoon of instant espresso powder into the filling if you want a subtle coffee note that brings out the sweetness.
 Save to Pinterest
 These little cups became my go-to when I needed proof that eating well and enjoying dessert didn't have to be contradictory. Every time I make them, I remember why I invented them in the first place.
Recipe FAQs
- → Can I make these gluten-free?
Yes, by substituting oat flour with almond flour or using gluten-free cookies for the base, you can easily create a gluten-free version.
- → What types of protein powder work best?
Vanilla whey protein powder complements the flavors best, but plant-based or vegan protein powders can be used as alternatives.
- → How long should the cups chill before serving?
Chill the cheesecake cups in the refrigerator for at least 2 hours to allow them to set firmly.
- → Can I customize the toppings?
Absolutely! Fresh berries, chopped nuts, or dark chocolate shavings make great additions for extra texture and flavor.
- → Is it possible to make a vegan version?
Yes, replace the cream cheese and yogurt with dairy-free alternatives and use a vegan protein powder for a fully plant-based option.