 Save to Pinterest
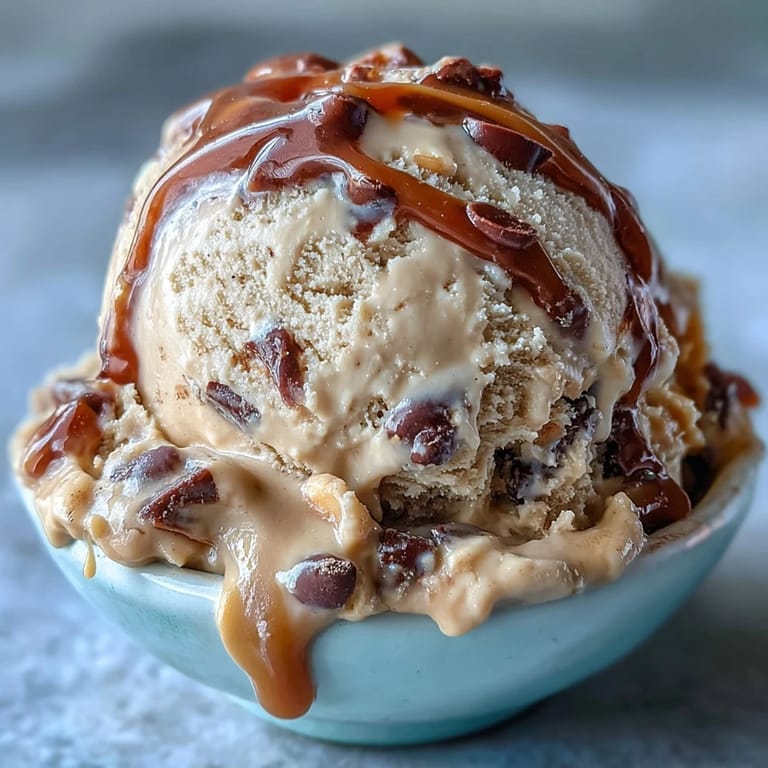
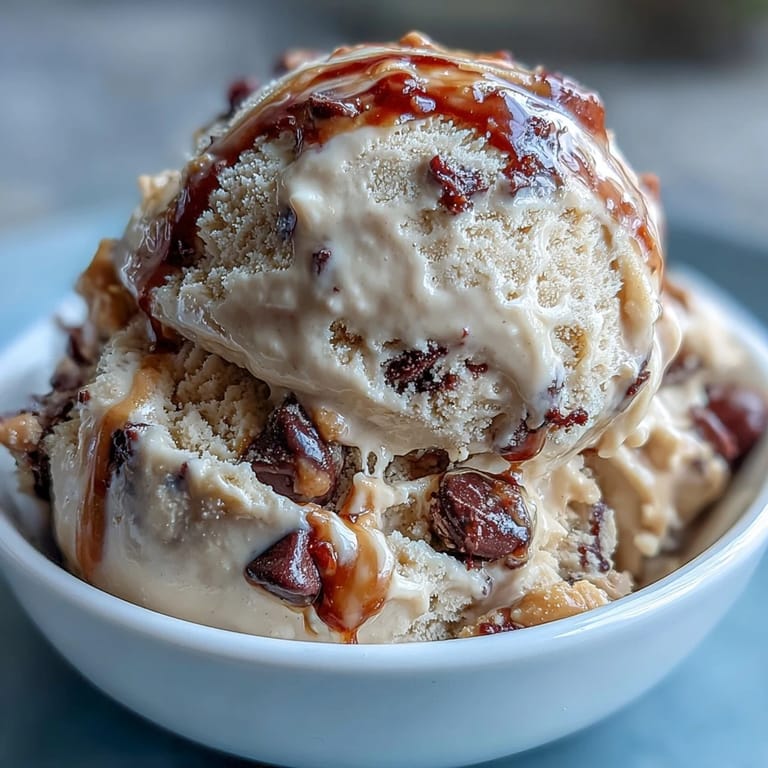
 The first time I whipped up this peanut butter banana ice cream, it was on a whim during one of those sticky-hot afternoons that make regular ice cream vanish in minutes. I could practically hear the hum of my blender over the sound of cicadas outside, and the sweet scent of ripe bananas and peanut butter hung in the air. What started as a last-minute sweet fix quickly became an experiment in just how creamy and decadent you could get with so little. It’s the sort of treat that sneaks up on you with its simplicity, then wows you with every chilly, velvety bite.
Honestly, the day I served this after dinner to my friends was the moment it went from a solo snack to a crowd-pleasing staple. There was a burst of laughter when someone asked if there was actual cream in it, and no one could believe it was just blended up fruit and peanut butter.
Ingredients
- Ripe bananas: The riper, the better—the natural sugars make the ice cream sweet and lend it that luscious, soft texture. Pro tip: freeze any overripe bananas you have lurking on the counter to make impromptu desserts a breeze.
- Creamy peanut butter: Stick with the smooth, drippy kind, which blends seamlessly for a rich, nutty undertone in every scoop. Stir well before measuring if it’s a natural brand.
- Maple syrup (or honey): Just enough to round out the flavor—taste after blending, as extra ripe bananas may make added sweetener unnecessary.
- Vanilla extract: It’s a small splash that wakes up all the other flavors and makes the kitchen smell amazing when blending.
Tired of Takeout? 🥡
Get 10 meals you can make faster than delivery arrives. Seriously.
One email. No spam. Unsubscribe anytime.
Instructions
- Freeze your fruit:
- Slice your bananas and lay them out on a parchment-lined baking sheet, so they don’t stick together. Let them chill for at least 2 hours—you want them solid for that ice cream texture.
- Prepare to blend:
- Toss the frozen banana slices into your food processor along with peanut butter, maple syrup, and vanilla. The sound might be loud at first, but let it run and pause to scrape down the sides when stubborn bits stick.
- Find your perfect texture:
- Blend until you see a thick, swirled, creamy mixture—almost soft-serve consistency. Sneak a taste and adjust sweetness if you like.
- Set or serve:
- For a dreamy soft-serve, scoop it straight away. If you want classic, scoopable ice cream, spread into a loaf pan and freeze another hour or so until firm.
- Final touches:
- Right before serving, feel free to fold in a handful of chocolate chips or crushed nuts for extra crunch. Dip your scoop in warm water for cleaner edges.
 Save to Pinterest
 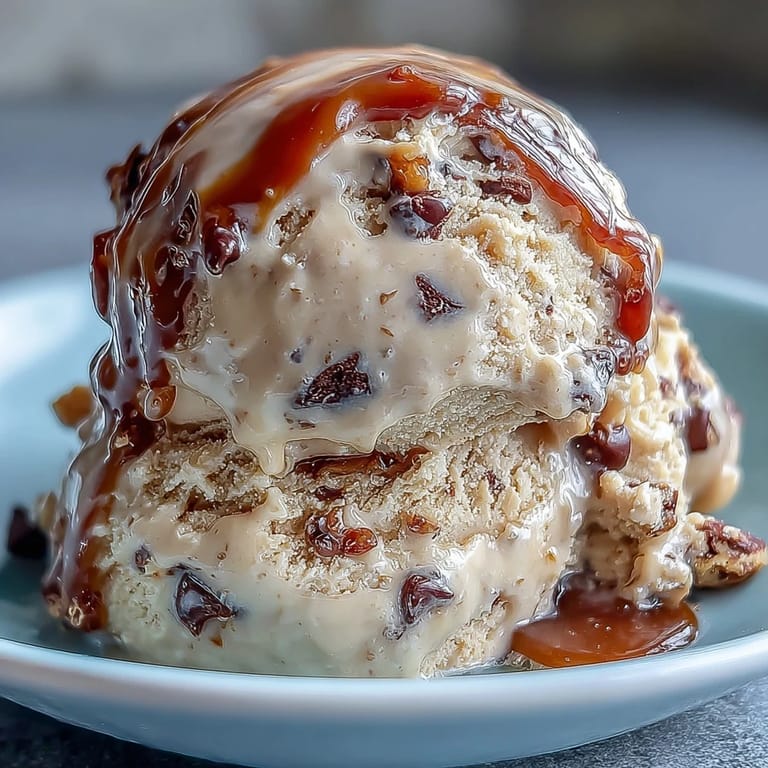 Save to Pinterest
 One evening, my niece helped with the scooping, and we ended up with messy, peanut-buttery smiles and finger-licking—not a scoop left. That uncomplicated joy is what makes this bowl of ice cream feel like more than dessert.
Mix-Ins and Toppings Worth Trying
I once tossed in a swirl of cocoa and a sprinkle of flaked sea salt and was floored at the grown-up depth it added. Chopped roasted nuts, a drizzle of dark chocolate, or a handful of berries all work beautifully in or on your ice cream if you’re feeling adventurous.
Making It Without Fancy Tools
If you don’t have a food processor, a high-powered blender will absolutely do the trick—it just may take a little more patience and some scraping down the sides. With determination, even an immersion blender can work (just break up the bananas beforehand and be prepared for an arm workout).
Troubleshooting for the Creamiest Results
Sometimes the mixture refuses to blend smoothly right away, which usually just means your bananas are too frozen or the peanut butter is too thick. In that case, wait a minute for the fruit to soften, or add a splash of coconut milk to loosen things up; this also adds another layer of creaminess. If your ice cream is crazy-hard after freezing, let it sit at room temperature for about 10 minutes before scooping—patience pays off.
- If it’s getting stuck, stop and scrape the sides, don’t force the motor.
- Taste as you go so you get the sweetness just right for you.
- Remember to store leftovers tightly covered to prevent icy crystals from forming.
 Save to Pinterest
  Save to Pinterest
 Whenever you need a frozen treat that’s as easy as it is satisfying, you’ll be glad to have this four-ingredient miracle up your sleeve. Enjoy every creamy, peanut-buttery bite, preferably with a friend who truly appreciates second helpings.
Recipe FAQs
- → How long should I freeze the bananas before blending?
Freeze sliced ripe bananas for at least 2 hours until solid; longer keeps them easier to blend into a smooth, creamy base. Very cold bananas reduce stickiness in the processor.
- → Can I swap peanut butter for other nut butters?
Yes — almond or cashew butter work well and produce a milder flavor. Be aware texture and fat content vary, so you may need to pulse a bit longer for creaminess.
- → How do I get a scoopable texture instead of soft-serve?
After blending to a creamy consistency, transfer the mixture to a loaf pan and freeze 1–2 hours until firm. Let it sit a few minutes at room temperature before scooping for easier serving.
- → What sweeteners can I use besides maple syrup?
Maple syrup adds depth, but honey (if not strictly vegan), agave, or a light simple syrup all work. Adjust quantity to taste; bananas add natural sweetness, so start with less.
- → How should I store leftovers and how long do they keep?
Press a piece of parchment onto the surface and store in an airtight, freezer-safe container. Keeps well for about 1–2 weeks; texture may firm but remains scoopable after brief thawing.
- → Can I add mix-ins like chocolate or nuts?
Yes — fold in chocolate chips, chopped nuts, or swirls of melted chocolate toward the end, then freeze briefly to set. Add them before the final freeze for even distribution.